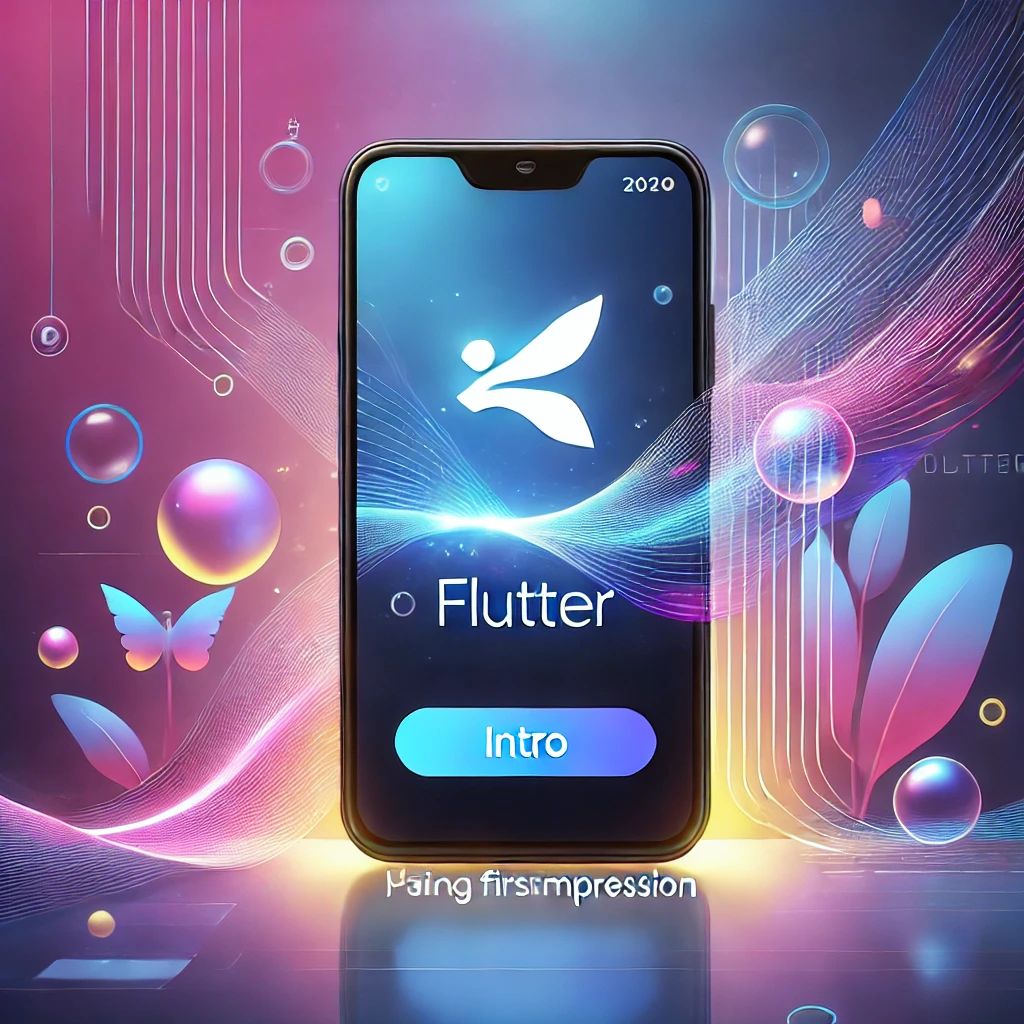
Flutter로 Splash Screen & Intro 만들기: 앱의 첫인상을 디자인하자
2025. 1. 7. 10:10ㆍ같이 공부합시다 - Flutter/Flutter 기본기
728x90
반응형
안녕하세요! 스테디빌더 입니다. 😊
이번에는 Splash Screen(스플래시 화면)과 간단한 Intro(인트로 화면)를 만들어볼 거예요. Splash Screen은 앱 실행 시 사용자가 처음 접하는 화면으로, 앱의 첫인상을 결정짓는 중요한 요소입니다. 이번 프로젝트를 통해 앱의 구조와 화면 전환을 자연스럽게 연결하는 방법을 배워보겠습니다.
목차
- Splash Screen & Intro 화면 개요
- Flutter에서 Splash Screen 구현하기
- Intro 화면과 자연스러운 전환 추가
- Flutter 초보자의 시행착오
- 다음 단계: 애니메이션과 더 멋진 디자인 추가하기
1. Splash Screen & Intro 화면 개요
Splash Screen이란?
- 앱이 로드되는 동안 사용자에게 앱 로고나 브랜드를 보여주는 화면입니다.
- 로딩 시간 동안 지루하지 않게 만들어 주며, 앱의 스타일을 전달하는 역할을 합니다.
Intro 화면이란?
- 앱의 주요 기능이나 혜택을 간단히 소개하는 화면입니다.
- 일반적으로 몇 개의 슬라이드 형태로 제공되며, 사용자가 스와이프나 버튼 클릭으로 다음 화면으로 넘어갑니다.
2. Flutter에서 Splash Screen 구현하기
실행 가능한 코드: 기본 Splash Screen
import 'package:flutter/material.dart';
import 'dart:async'; // Timer 사용을 위해 추가

void main() => runApp(SplashApp());

class SplashApp extends StatelessWidget {
  @override
  Widget build(BuildContext context) {
    return MaterialApp(
      home: SplashScreen(),
    );
  }
}

class SplashScreen extends StatefulWidget {
  @override
  _SplashScreenState createState() => _SplashScreenState();
}

class _SplashScreenState extends State<SplashScreen> {
  @override
  void initState() {
    super.initState();
    // 3초 후에 IntroScreen으로 전환
    Timer(Duration(seconds: 3), () {
      Navigator.pushReplacement(
        context,
        MaterialPageRoute(builder: (context) => IntroScreen()),
      );
    });
  }

  @override
  Widget build(BuildContext context) {
    return Scaffold(
      backgroundColor: Colors.blue,
      body: Center(
        child: Text(
          "My App",
          style: TextStyle(
            fontSize: 32,
            fontWeight: FontWeight.bold,
            color: Colors.white,
          ),
        ),
      ),
    );
  }
}

// Intro 화면 (다음 단계에서 세부 내용 추가)
class IntroScreen extends StatelessWidget {
  @override
  Widget build(BuildContext context) {
    return Scaffold(
      appBar: AppBar(title: Text("Intro 화면")),
      body: Center(child: Text("이곳에 Intro 내용을 추가하세요.")),
    );
  }
}
3. Intro 화면과 자연스러운 전환 추가
Intro 화면은 스플래시 화면에서 전환된 후 사용자에게 앱의 주요 기능을 소개하는 화면입니다. 스와이프 가능한 슬라이드와 Get Started 버튼을 추가해 봅시다.
실행 가능한 코드: Intro 화면
import 'package:flutter/material.dart';

class IntroScreen extends StatefulWidget {
  @override
  _IntroScreenState createState() => _IntroScreenState();
}

class _IntroScreenState extends State<IntroScreen> {
  final PageController _pageController = PageController();
  int _currentPage = 0;

  final List<String> _introTexts = [
    "앱의 주요 기능을 소개합니다.",
    "쉽고 간단한 사용 방법!",
    "지금 시작해 보세요!",
  ];

  @override
  Widget build(BuildContext context) {
    return Scaffold(
      body: Column(
        children: [
          Expanded(
            child: PageView.builder(
              controller: _pageController,
              onPageChanged: (index) {
                setState(() {
                  _currentPage = index;
                });
              },
              itemCount: _introTexts.length,
              itemBuilder: (context, index) {
                return Center(
                  child: Padding(
                    padding: const EdgeInsets.all(16.0),
                    child: Text(
                      _introTexts[index],
                      style: TextStyle(fontSize: 24, fontWeight: FontWeight.bold),
                      textAlign: TextAlign.center,
                    ),
                  ),
                );
              },
            ),
          ),
          Row(
            mainAxisAlignment: MainAxisAlignment.center,
            children: List.generate(
              _introTexts.length,
              (index) => AnimatedContainer(
                duration: Duration(milliseconds: 300),
                margin: const EdgeInsets.symmetric(horizontal: 4.0),
                height: 8.0,
                width: _currentPage == index ? 16.0 : 8.0,
                decoration: BoxDecoration(
                  color: _currentPage == index ? Colors.blue : Colors.grey,
                  borderRadius: BorderRadius.circular(4.0),
                ),
              ),
            ),
          ),
          SizedBox(height: 16),
          Padding(
            padding: const EdgeInsets.all(16.0),
            child: ElevatedButton(
              onPressed: () {
                // Intro 화면 완료 후 메인 화면으로 이동
                Navigator.pushReplacement(
                  context,
                  MaterialPageRoute(builder: (context) => MainScreen()),
                );
              },
              child: Text("Get Started"),
            ),
          ),
        ],
      ),
    );
  }
}

// 메인 화면
class MainScreen extends StatelessWidget {
  @override
  Widget build(BuildContext context) {
    return Scaffold(
      appBar: AppBar(title: Text("메인 화면")),
      body: Center(child: Text("메인 화면 내용이 여기에 표시됩니다.")),
    );
  }
}
4. Flutter 초보자의 시행착오
- Splash 화면 전환 시 깜빡임 문제
- Navigator 사용 시 간혹 전환이 깜빡이는 문제가 있었는데, pushReplacement를 사용해 해결했습니다.
- PageView 상태 관리 문제
- PageView에서 현재 페이지를 관리하기 위해 PageController를 사용했습니다.
- Intro 화면과 메인 화면 연결
- Intro 화면에서 메인 화면으로 전환 시 Navigator.pushReplacement로 화면 스택을 깔끔하게 관리했습니다.
5. 다음 단계: 애니메이션과 더 멋진 디자인 추가 가능 !
- 앱 로고 애니메이션 추가
- Splash 화면에서 로고가 커지거나 회전하는 애니메이션 추가.
- Intro 화면에 이미지 슬라이드 추가
- 이미지와 텍스트를 함께 표시하여 더 매력적인 UI 구성.
- SharedPreferences 활용
- Intro 화면을 한 번만 표시하도록 설정.
마무리
Splash Screen과 Intro 화면은 앱의 첫인상을 좌우하는 중요한 요소입니다. 이번 프로젝트를 통해 화면 전환과 상태 관리를 배워보았고, 앱의 구조를 더욱 체계적으로 만들 수 있었습니다.
혹시 이 프로젝트를 진행하며 궁금한 점이나 아이디어가 있다면 댓글로 공유해주세요! 다음에는 더 재미있고 실용적인 프로젝트로 돌아오겠습니다. 😊
728x90
반응형
'같이 공부합시다 - Flutter > Flutter 기본기' 카테고리의 다른 글
| Flutter로 간단한 탭바(Tabs) 앱 만들기: 화면 전환 연습 (3) | 2025.01.09 |
|---|---|
| Flutter로 간단한 메모 앱 만들기: 로컬 데이터 저장까지! (2) | 2025.01.08 |
| Flutter로 무작위 색상 배경 앱 만들기: 애니메이션 효과 추가하기 (3) | 2025.01.06 |
| Flutter로 명언 표시 앱 만들기: 간단한 API 연동 프로젝트 (4) | 2025.01.05 |
| Flutter로 간단한 계산기 앱 만들기: 초보 개발자의 도전 (5) | 2025.01.04 |